There are multiple reasons why humans over the age of two should not be drinking dairy milk as part of their diet, and in particular cow’s milk. Why? In very simple terms, cow’s milk causes mucus in your gut which leads to inflammation (the core source of most diseases including rheumatoid arthritis, heart disease, cancer and Alzheimer’s as reported by Harvard Medical School, which numerous other studies confirm – stay tuned to read about more on this in another blog post), problems with digestion and overall gut health, and as you’ve seen me repeat over and over again, the gut is the ‘heart’ of your immune system. If you want to be healthy and stay healthy then start with your intestines ie. your diet.
The most recent news I have read indicated that new research carried out in a European University has solved a mystery which has plagued the scientific medical community up until now. They have now uncovered the origin of PCOS (Polycystic Ovarian Syndrome). The long and short of it is, it is caused by an elevated presence of a hormone called Anti-Mullerian Hormone (AMH). How do you avoid this hormone from being out of balance, according to the scientists? A plant based diet!
So, once again science proves what the likes of Traditional healers such as TCM practitioners around the world have known and preached for centuries. I suppose we should be happy but think how many women’s lives could have been far easier and far less painful had this ancestral knowledge been applied from the start. After all, ever heard of anyone dying or getting sick from a plant-based diet? Neither have I.
To get back to milk, though. There are a lot of drinks being used as substitutes for cow’s milk. I have been using different ones at different times, from almond, to hazelnut, to soy, or even coconut. The list is endless. However, most of the ones readily available in shops contain a lot of added ingredients and very little else. For example, almond milk might be 5% almond, then water, salt, sugar and a host of other things to make up 1 litre of almond milk. Do we really need all these other ingredients? What about the source? Even if they are safe….let’s be honest, a lot taste watery and look like cloudy dishwater. Ugh! So, I started wondering…. How difficult would it be to make these milk substitutes at home? Would they be so tasteless and watery? Are they really so expensive to make?
I googled it, like I google many things these days… My friend google once again opened my eyes to a whole new way of looking at this. Not only is making these "milks" dead simple, it requires only a few minutes (plus soaking time) and it’s also environmentally friendly. Why? Because instead of getting through endless tetra packs with plastic caps, when you make your own you can use old fashioned bottles with airtight caps, which you can wash and reuse over and over again!
My next step was to head down to the shops and buy fresh nuts. I got lucky and there was a special promotion if you bought 2kg of almonds. Never one to do things in halves, I decided to jump on that wagon and go the full distance. Oh, and there is yet another advantage to making your own, which I’ll reveal later.
The recipe I stumbled upon required the almonds to be peeled after soaking, but I did not do that. Like for most fruits and vegetables, a lot of the nutrients are concentrated just there, right under the peel, and there is nothing wrong with eating almond skin, and I do mean eat (you’ll see why in a moment).
Home-made Almond Milk
Ingredients (makes approx. 75ml)
250gm raw almonds (skin on)
4 cups of mineral water
½ tsp stevia (optional)
Equipment
A blender
1 x 1lt glass bottle with airtight cap
A glass bowl
A piece of muslin cloth
A funnel
A large (oven) tray
Method
1. Measure the almonds and place them in a bowl, cover them in water and soak for 6 to 12 hours (or overnight).
2. Drain the almonds and place them in a blender. Add 4 cups of natural mineral water at room temperature and blitz until smooth.
3. Take the muslin cloth, place it over the bowl ( I secured mine with a rubber band.) Then pour the mixture in the blender over the muslin to separate the liquid. You’ll find it is best to do this in batches rather than to pour it all at once.
4. Once you have poured the mixture over the muslin and there is no more liquid straining, take the muslin, bunch it up and use your hands to squeeze out the remaining almond milk.
5. When no more liquid will squeeze out of the almond pulp, set this aside, but do not discard it! I’ll show you how to use it in step 7 below (keep scrolling).
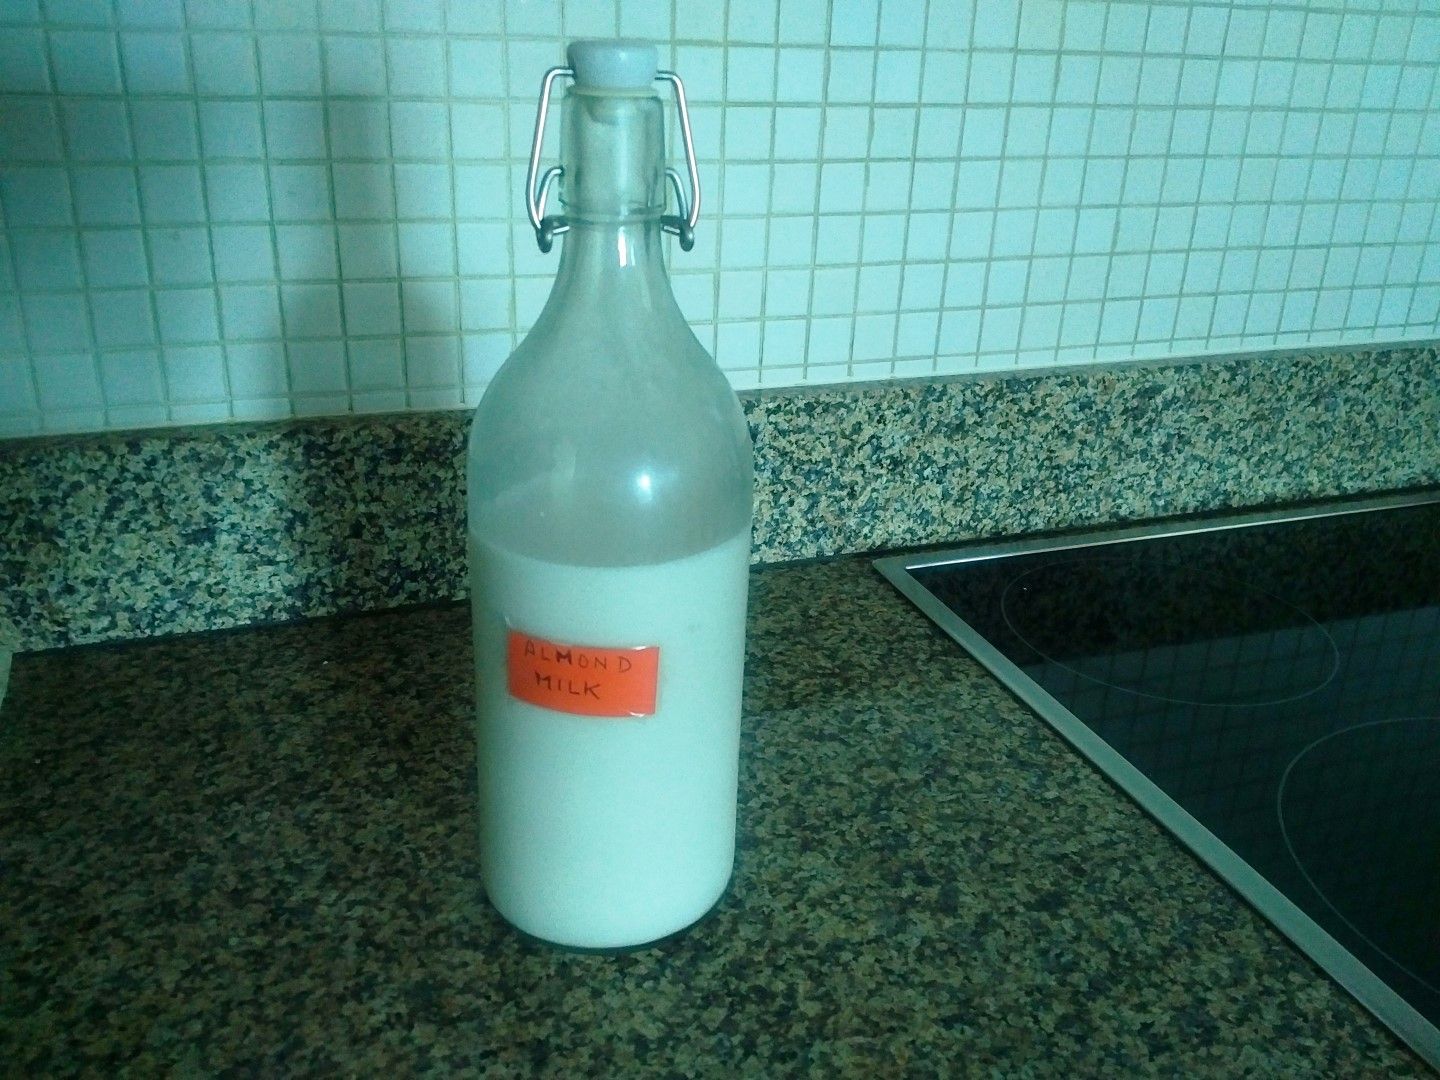
6. Take the funnel and use it to pour the almond milk from the bowl into your glass bottle. Once done, label the bottle, close it and store in the fridge. It will keep for up to 4 days.
I was afraid mine would be too bland to use on my oats in the morning, so I added a little pinch stevia and the usual teaspoon of ground cinnamon to my porridge. It was great! Much creamier and tastier than any of the processed milks, and if you are used to unsweetened milks, as I am, it probably won’t need any stevia at all.
Alternatives to almonds
Don’t like almonds, I hear you say? No problem! You can do this with hazelnuts, walnuts, and even peanuts. The only thing that changes is the soaking times. With the exception of pistachios and Brazil Nuts, which don’t need soaking. Here is a handy guide to soaking times.
|
Almonds |
8-12 hours |
|
Hazelnuts |
8 hours |
|
Macadamias |
8 hours |
|
Pine Nuts |
8 hours |
|
Peanuts |
8 hours |
|
Pecans |
4- 6 hours |
|
Walnuts |
4 hours |
|
Cashews |
2 hours |
|
Pistachios |
No soaking needed |
|
Brazil Nuts |
No soaking needed |
What do you do with the almond pulp?
7. Remember that almond pulp you set aside? Take the oven tray and spread it evenly over the tray, cover with some muslin and leave in a cool dry place to dry. You can use this as almond meal, or blitz it once again to turn into a less coarse almond flour. Waste not, want not: Make yourself a nice almond cake (see recipe here), or almond flour biscuits (Strictly sugar free, though!) Go on, you’ve earned it!